Searching a data breach with ElasticSearch Dec 22, 2022
Introduction
When 500m Facebook records appeared online, I wanted to know if I was in the leak. I was not. But the files were huge, and \~grep\~ was painful.
So I used Elasticsearch and Kibana to index the data and query it like a search engine. It handles indexing, sharding, and performance, and Kibana gives you a friendly UI. I had used Elastic before and knew it could handle the scale.

Here is how I analyzed the UK data set.
Steps
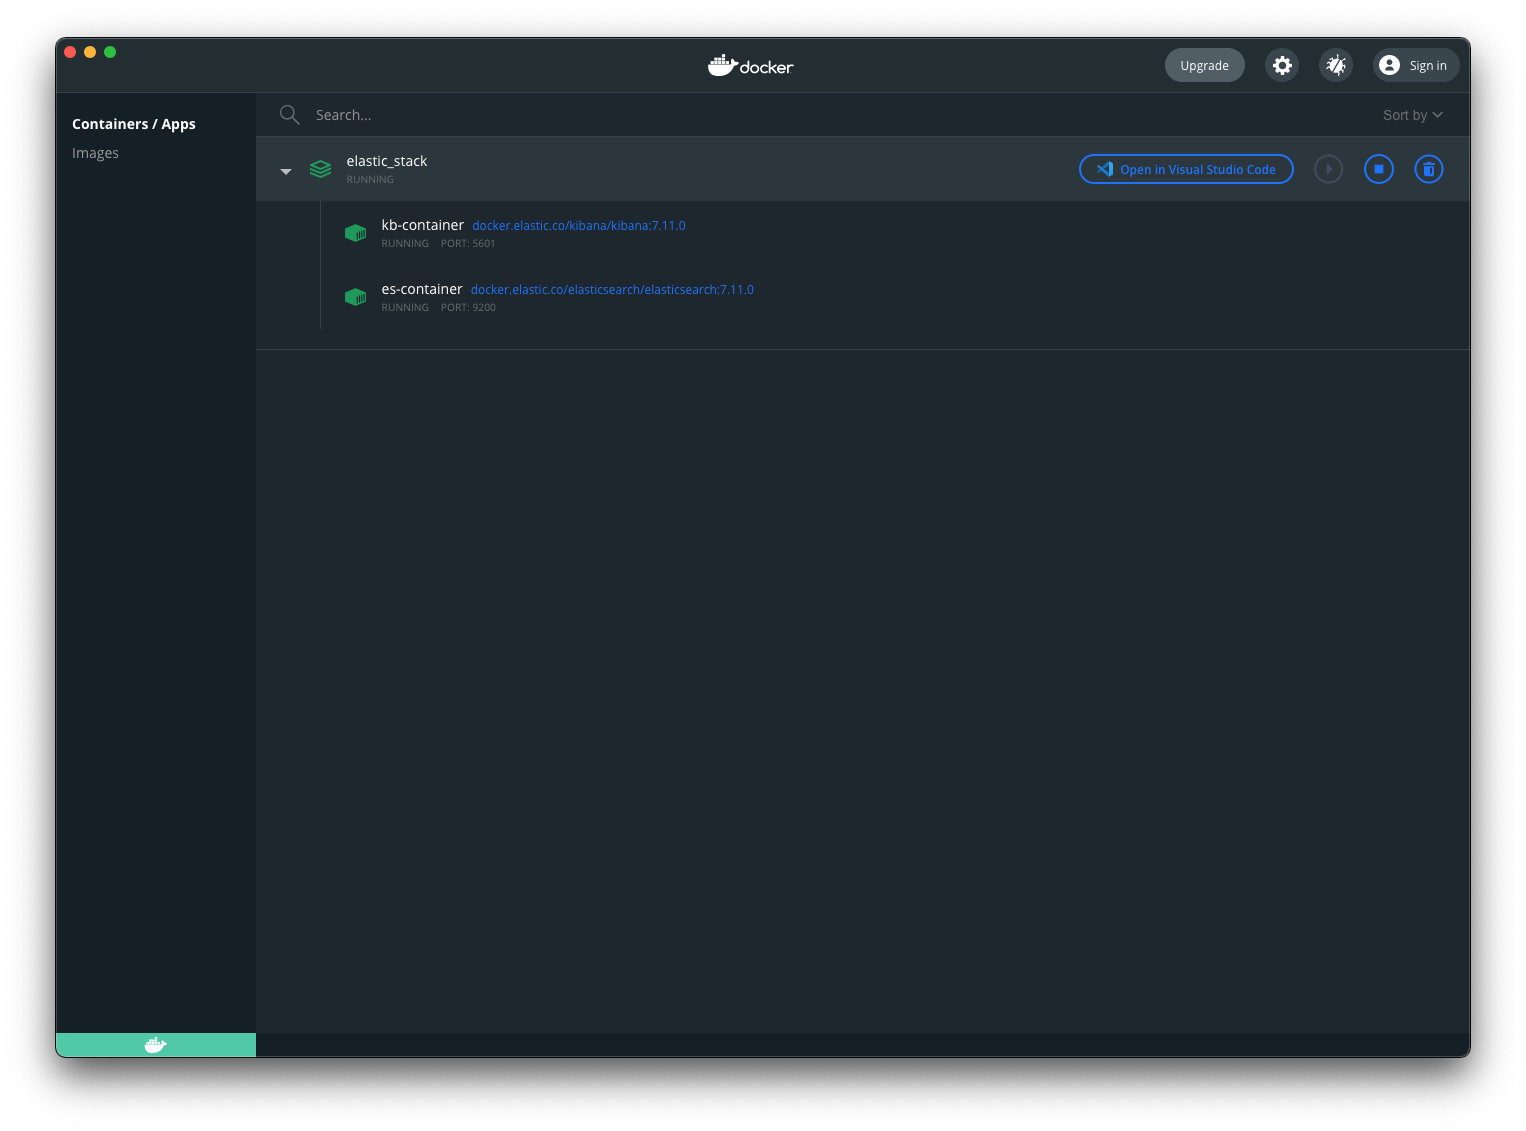
Step 1 - Setup an Elasticsearch stack
An Elastic stack is just Elasticsearch + Kibana. Docker makes it easy. If you also need to send email alerts from a container, I wrote a short guide here: docker send email with bytemark/smtp.
Save this as docker-compose.yml and run docker compose up. Once it is running, open Kibana at http://localhost:5601.
version: "3.3"
services:
  elasticsearch:
    container_name: es-container
    image: docker.elastic.co/elasticsearch/elasticsearch:7.11.0
    environment:
      - xpack.security.enabled=false
      - "discovery.type=single-node"
    networks:
      - es-net
    ports:
      - 9200:9200
  kibana:
    container_name: kb-container
    image: docker.elastic.co/kibana/kibana:7.11.0
    environment:
      - ELASTICSEARCH_HOSTS=http://es-container:9200
    networks:
      - es-net
    depends_on:
      - elasticsearch
    ports:
      - 5601:5601
networks:
  es-net:
    driver: bridge
Step 2 - Clean the data
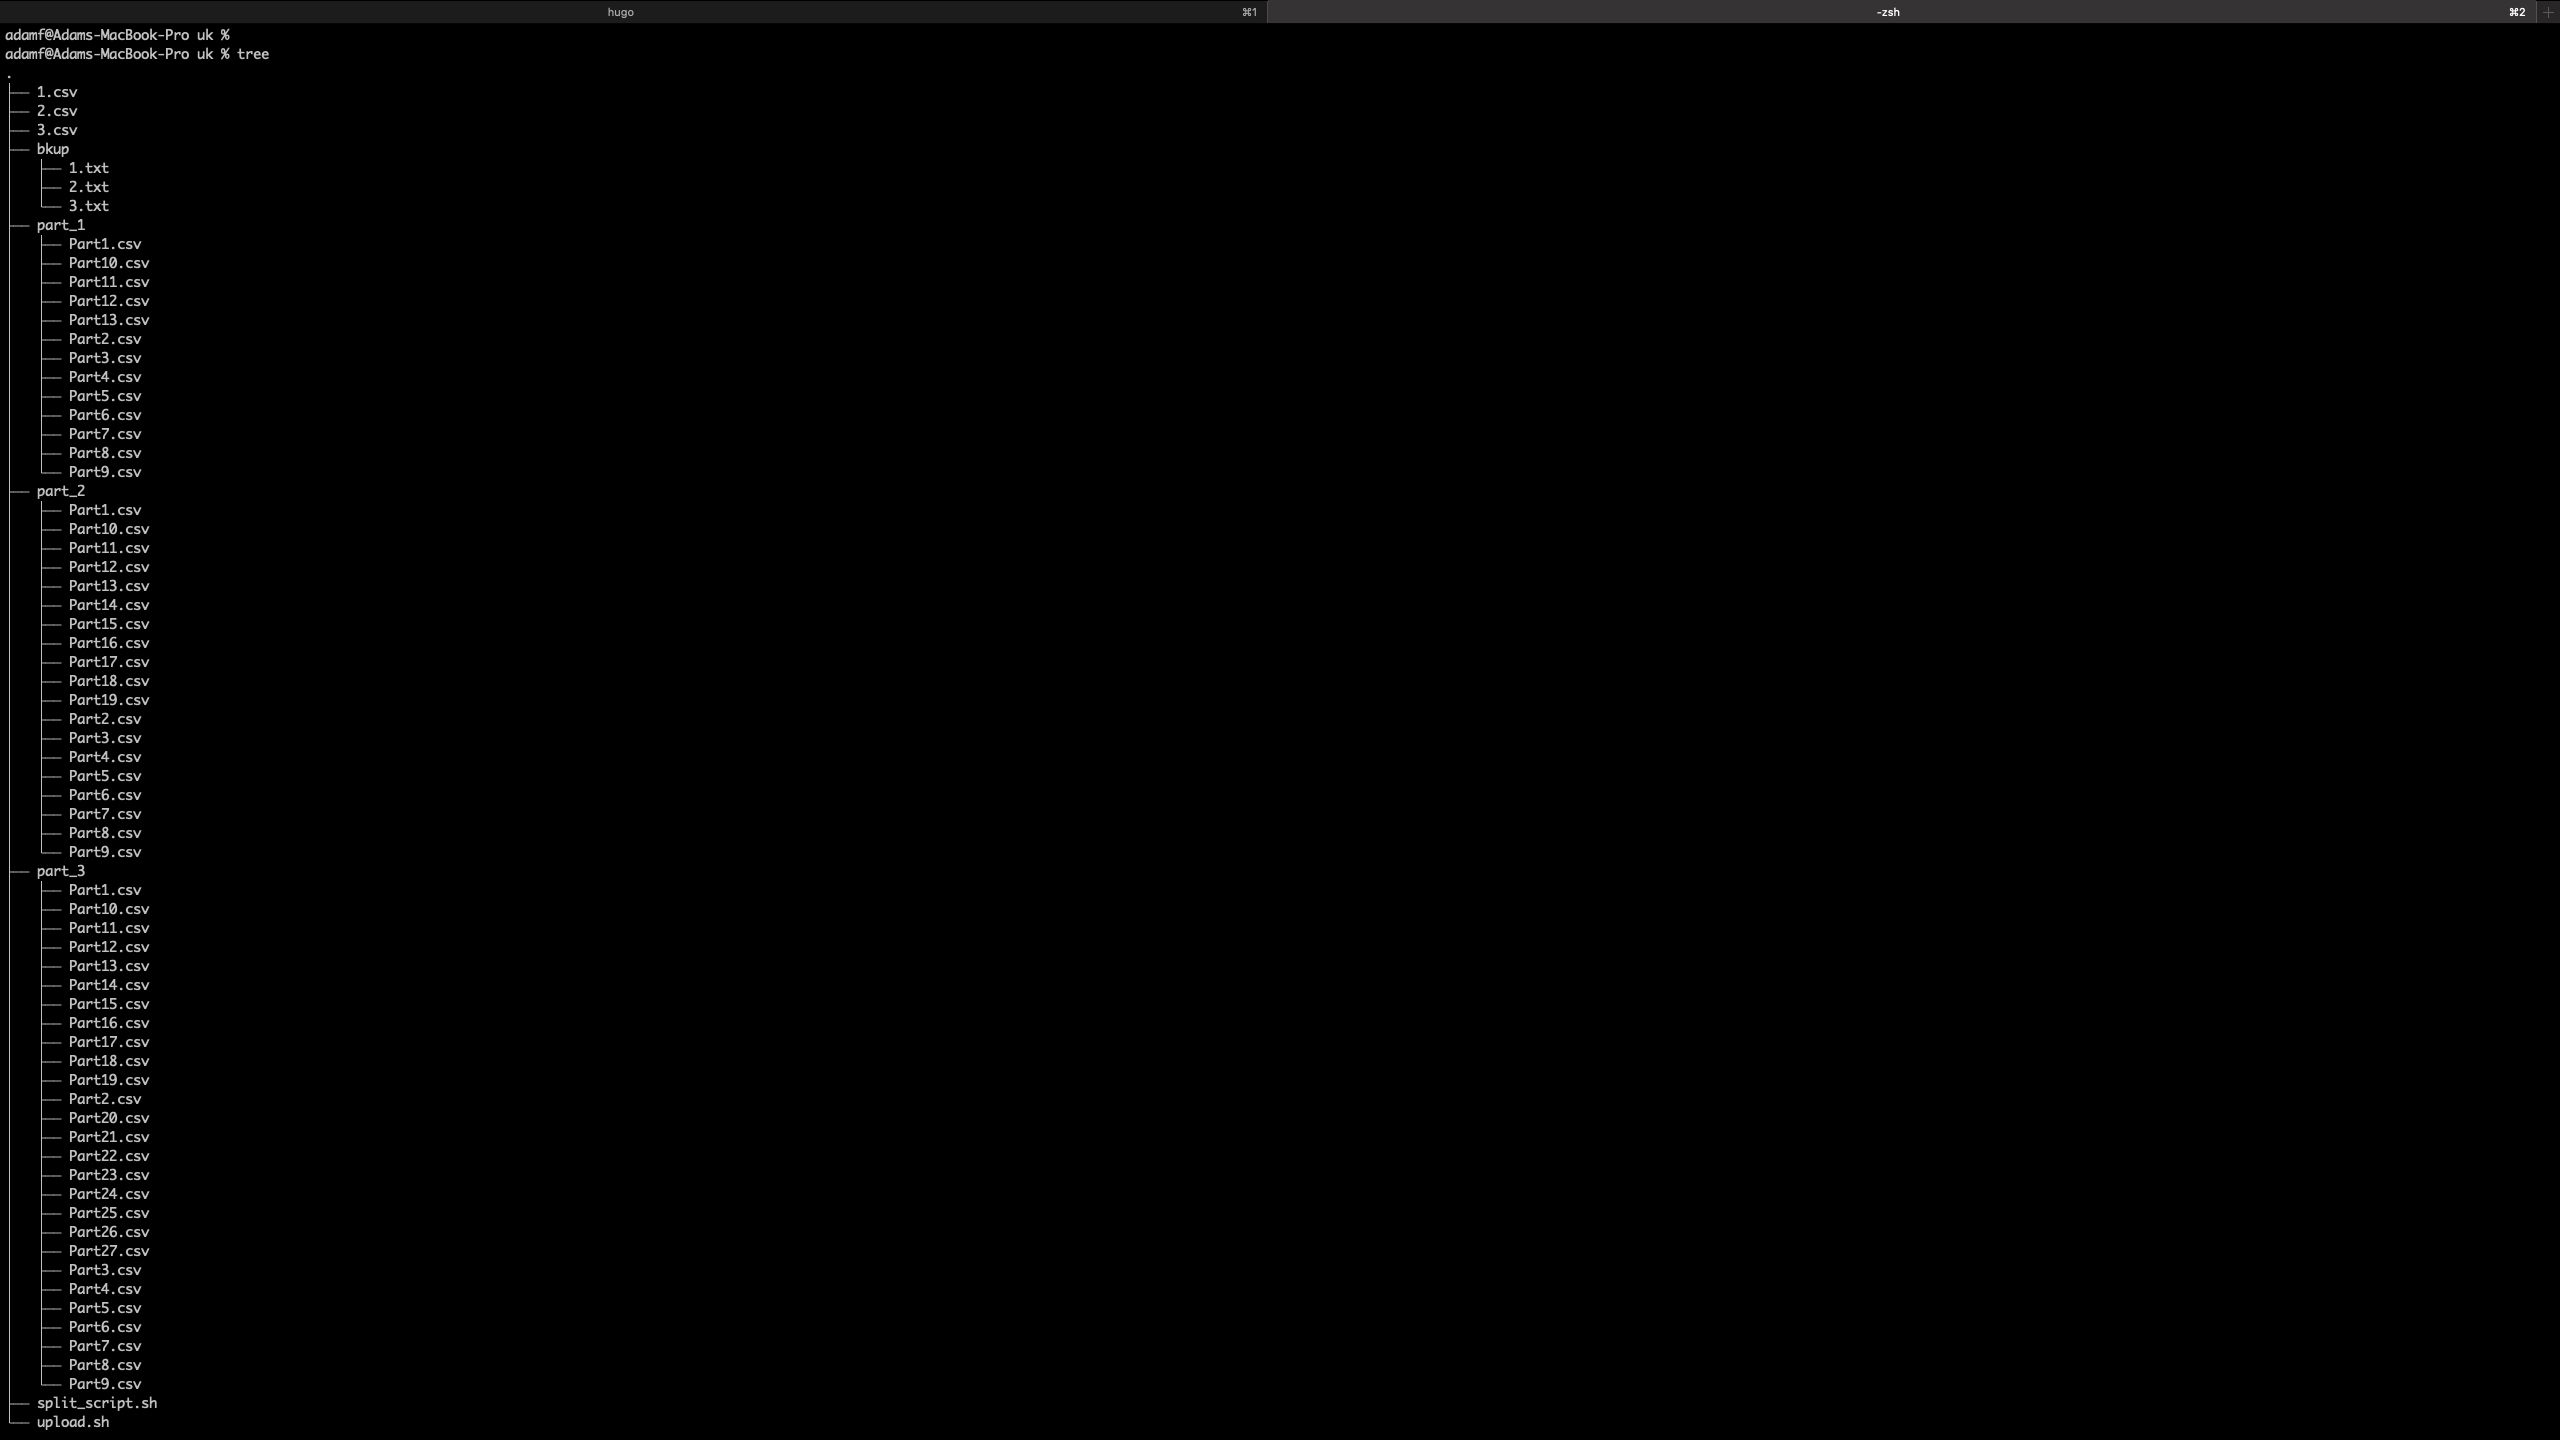
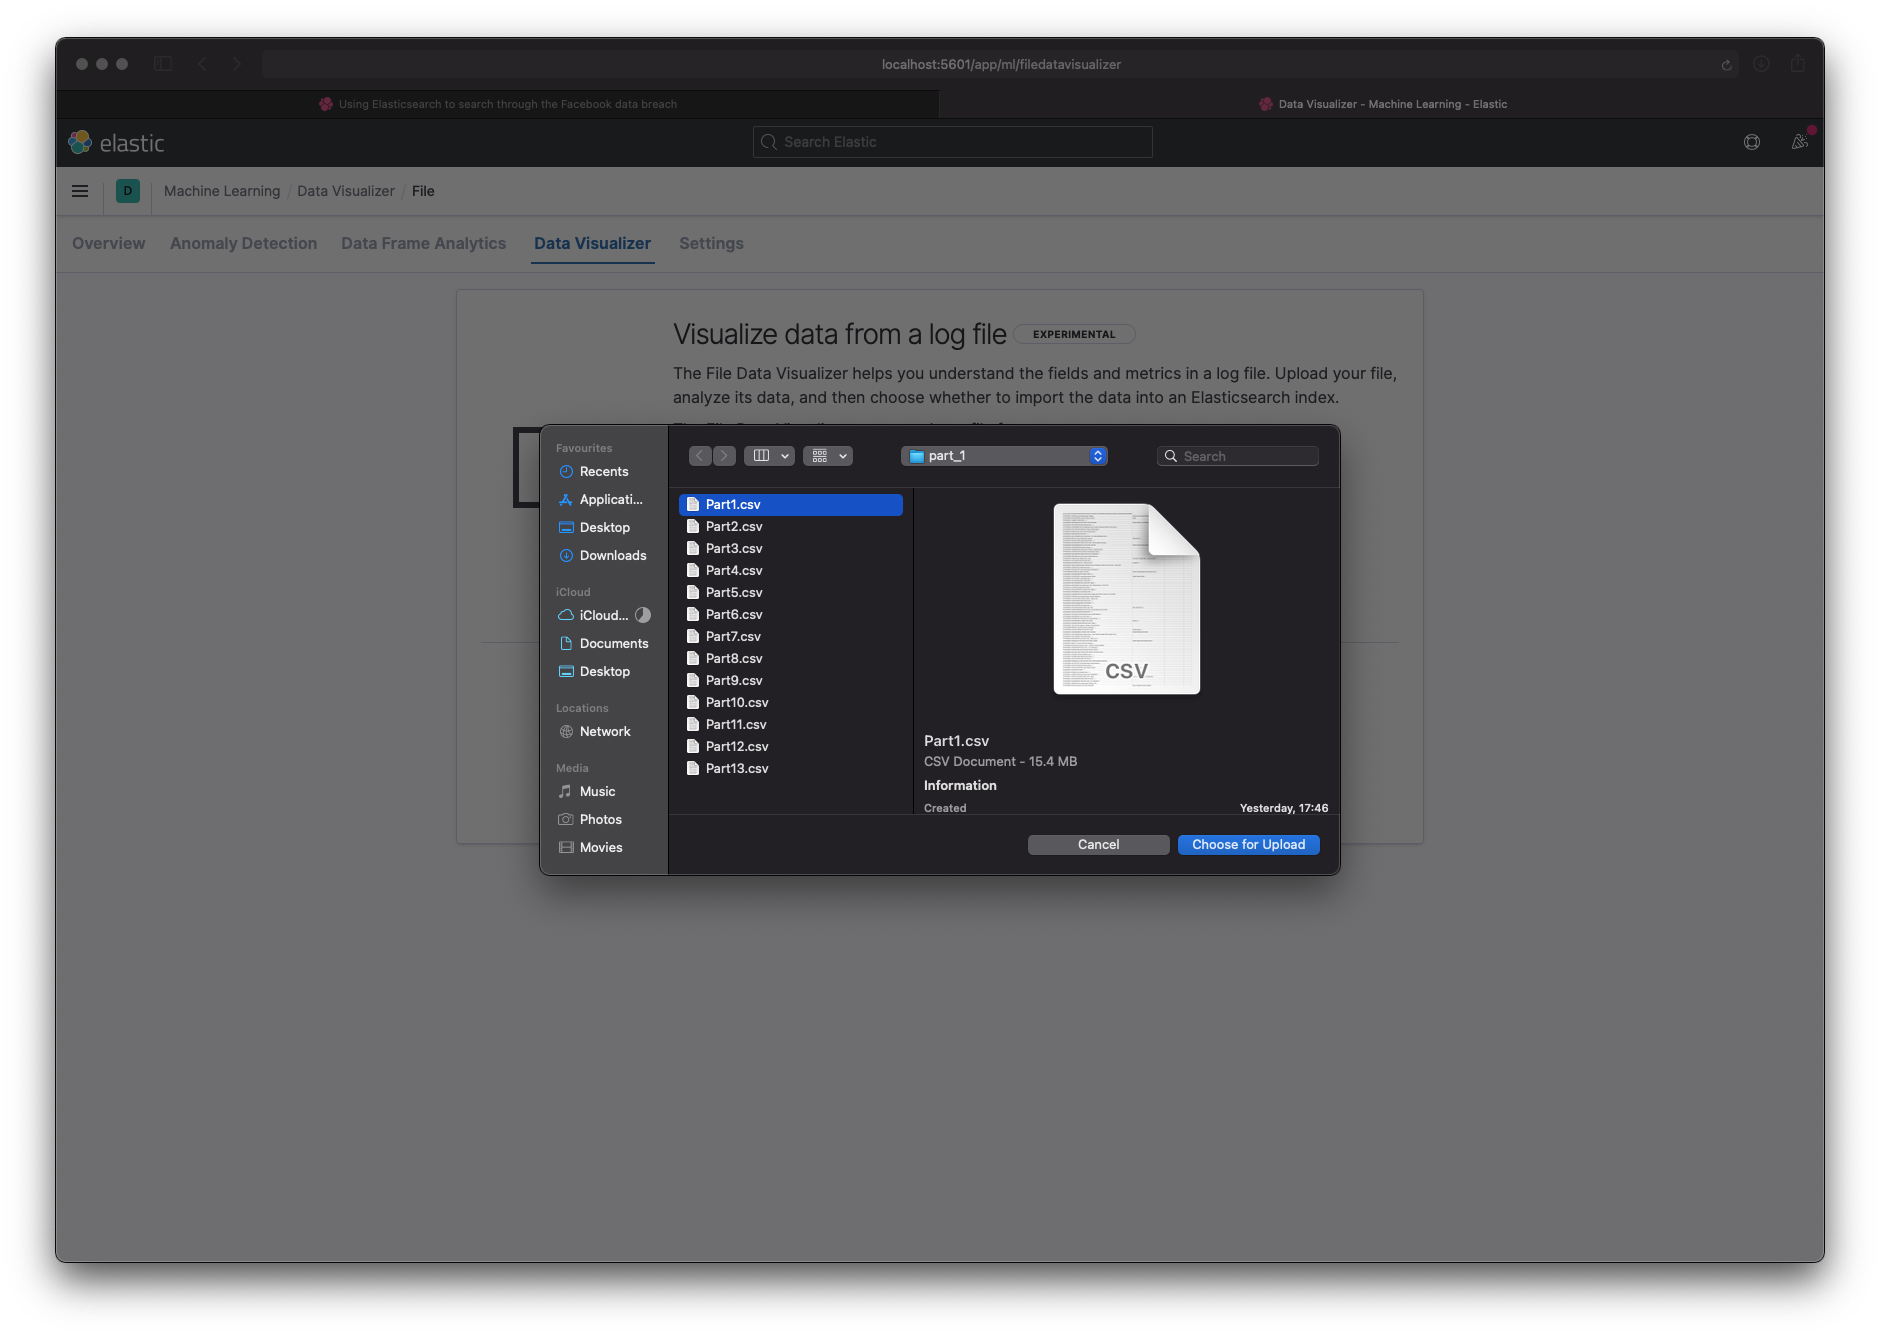
The UK data was three large CSV files (200-400 MB each). Kibana's file uploader tops out at 100 MB and has no bulk import. So I split each file into smaller chunks.
I aimed for 200k rows per chunk (about 15 MB), which let me validate the data in Kibana and then switch to the REST API for the full import. I kept the three files separate in case they had different shapes.
I created three directories (part_1, part_2, part_3) and wrote a bash script to split each file into 200k rows, add a header, and write the parts out. It is rough, but it worked.
for idx in 1 2 3; do
  FILENAME="${idx}.csv"
  HDR='phone_number:id:firstname:lastname:gender:location_one:location_two:relationship_status:works_at:account_create_date:email:birthdate'
  split -l 200000 $FILENAME xyz
  n=1
  for f in xyz*; do
    echo ${HDR} > "part_${idx}/Part_${n}.csv"
    cat $f >> "part_${idx}/Part_${n}.csv"
    rm $f
    ((n++))
  done
done
Step 3 - Load the data (test)
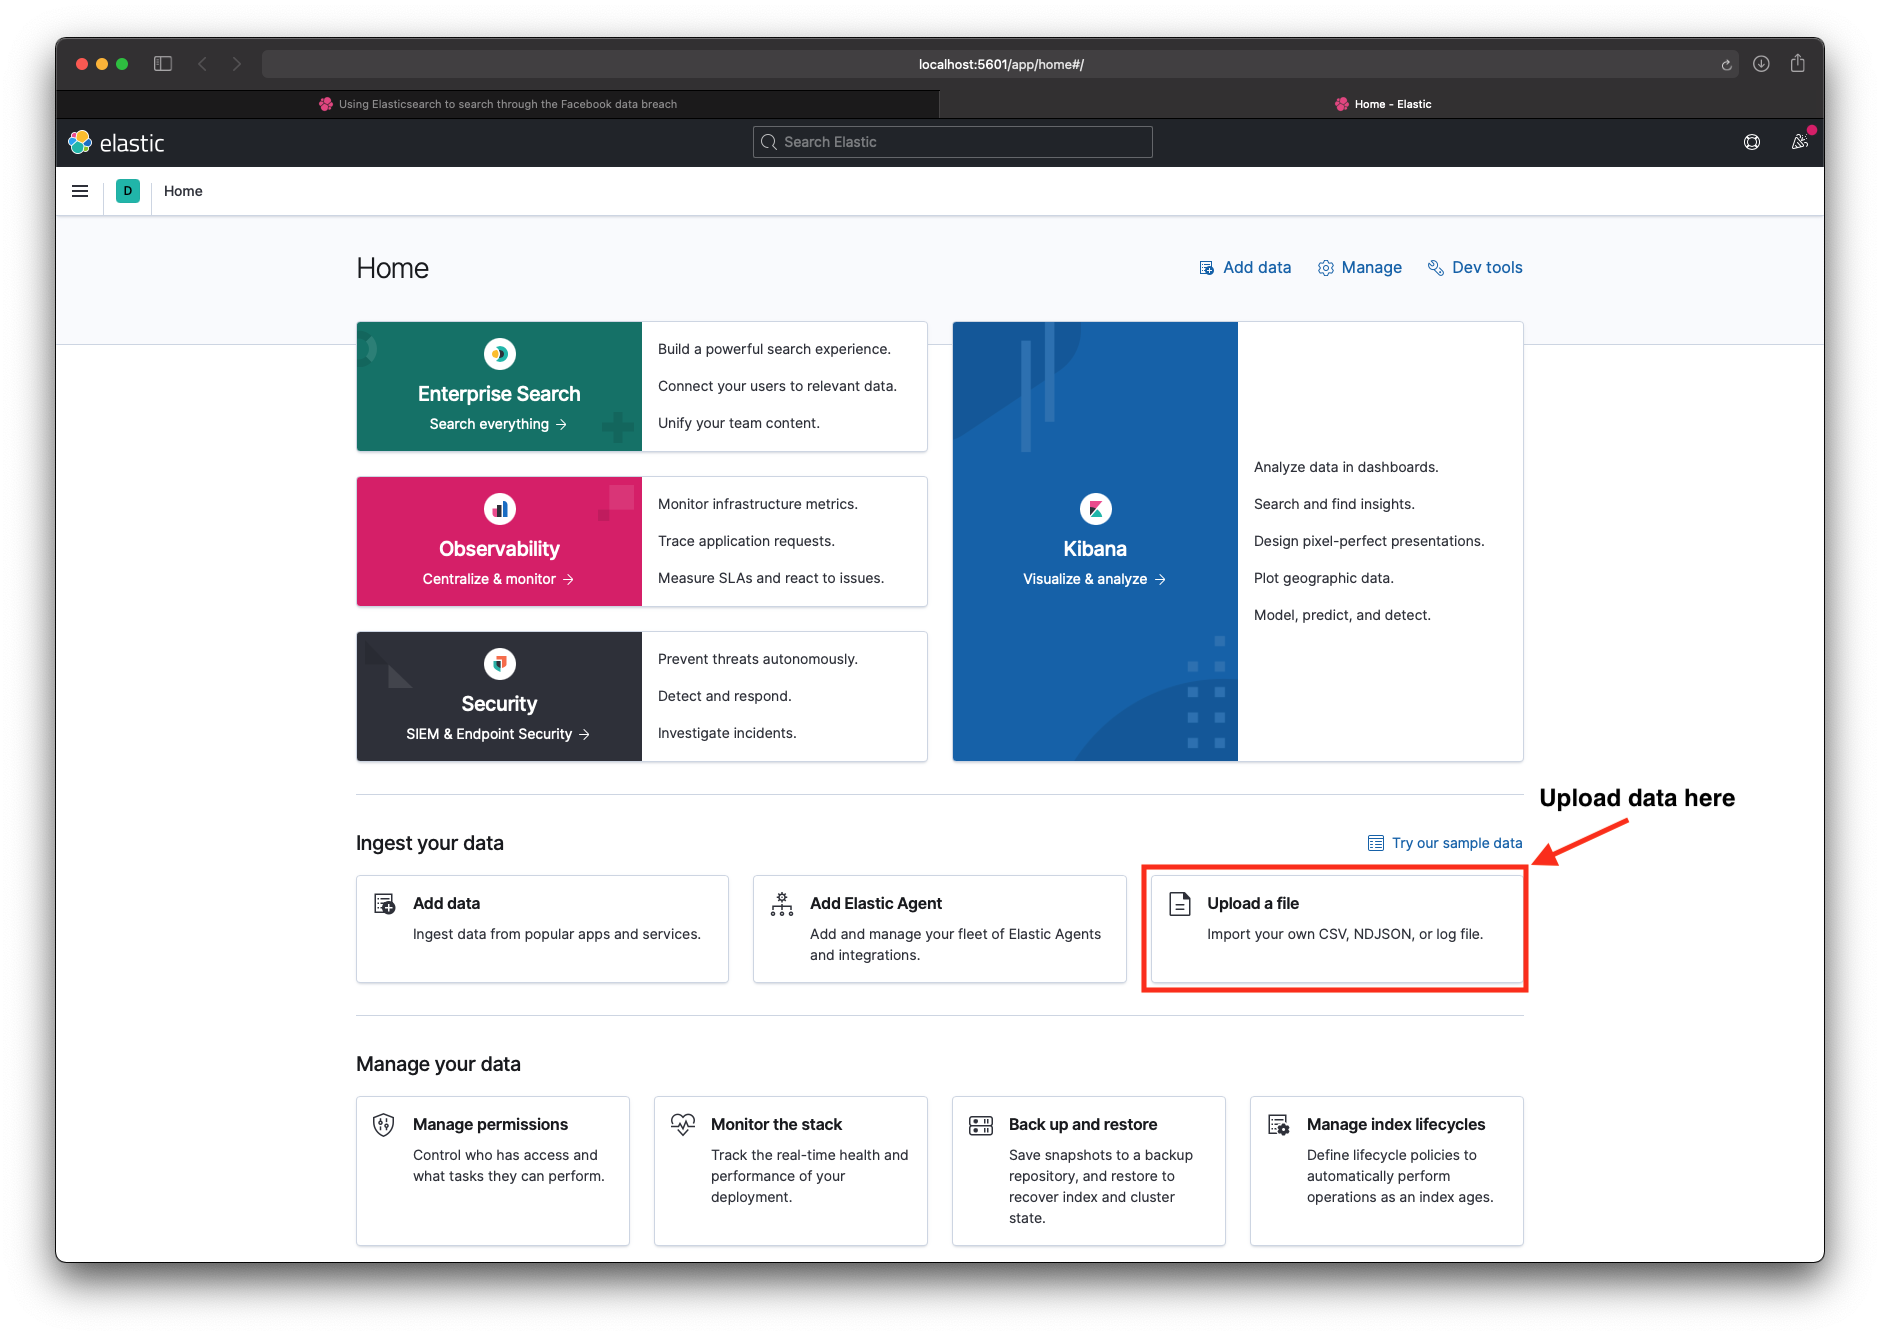
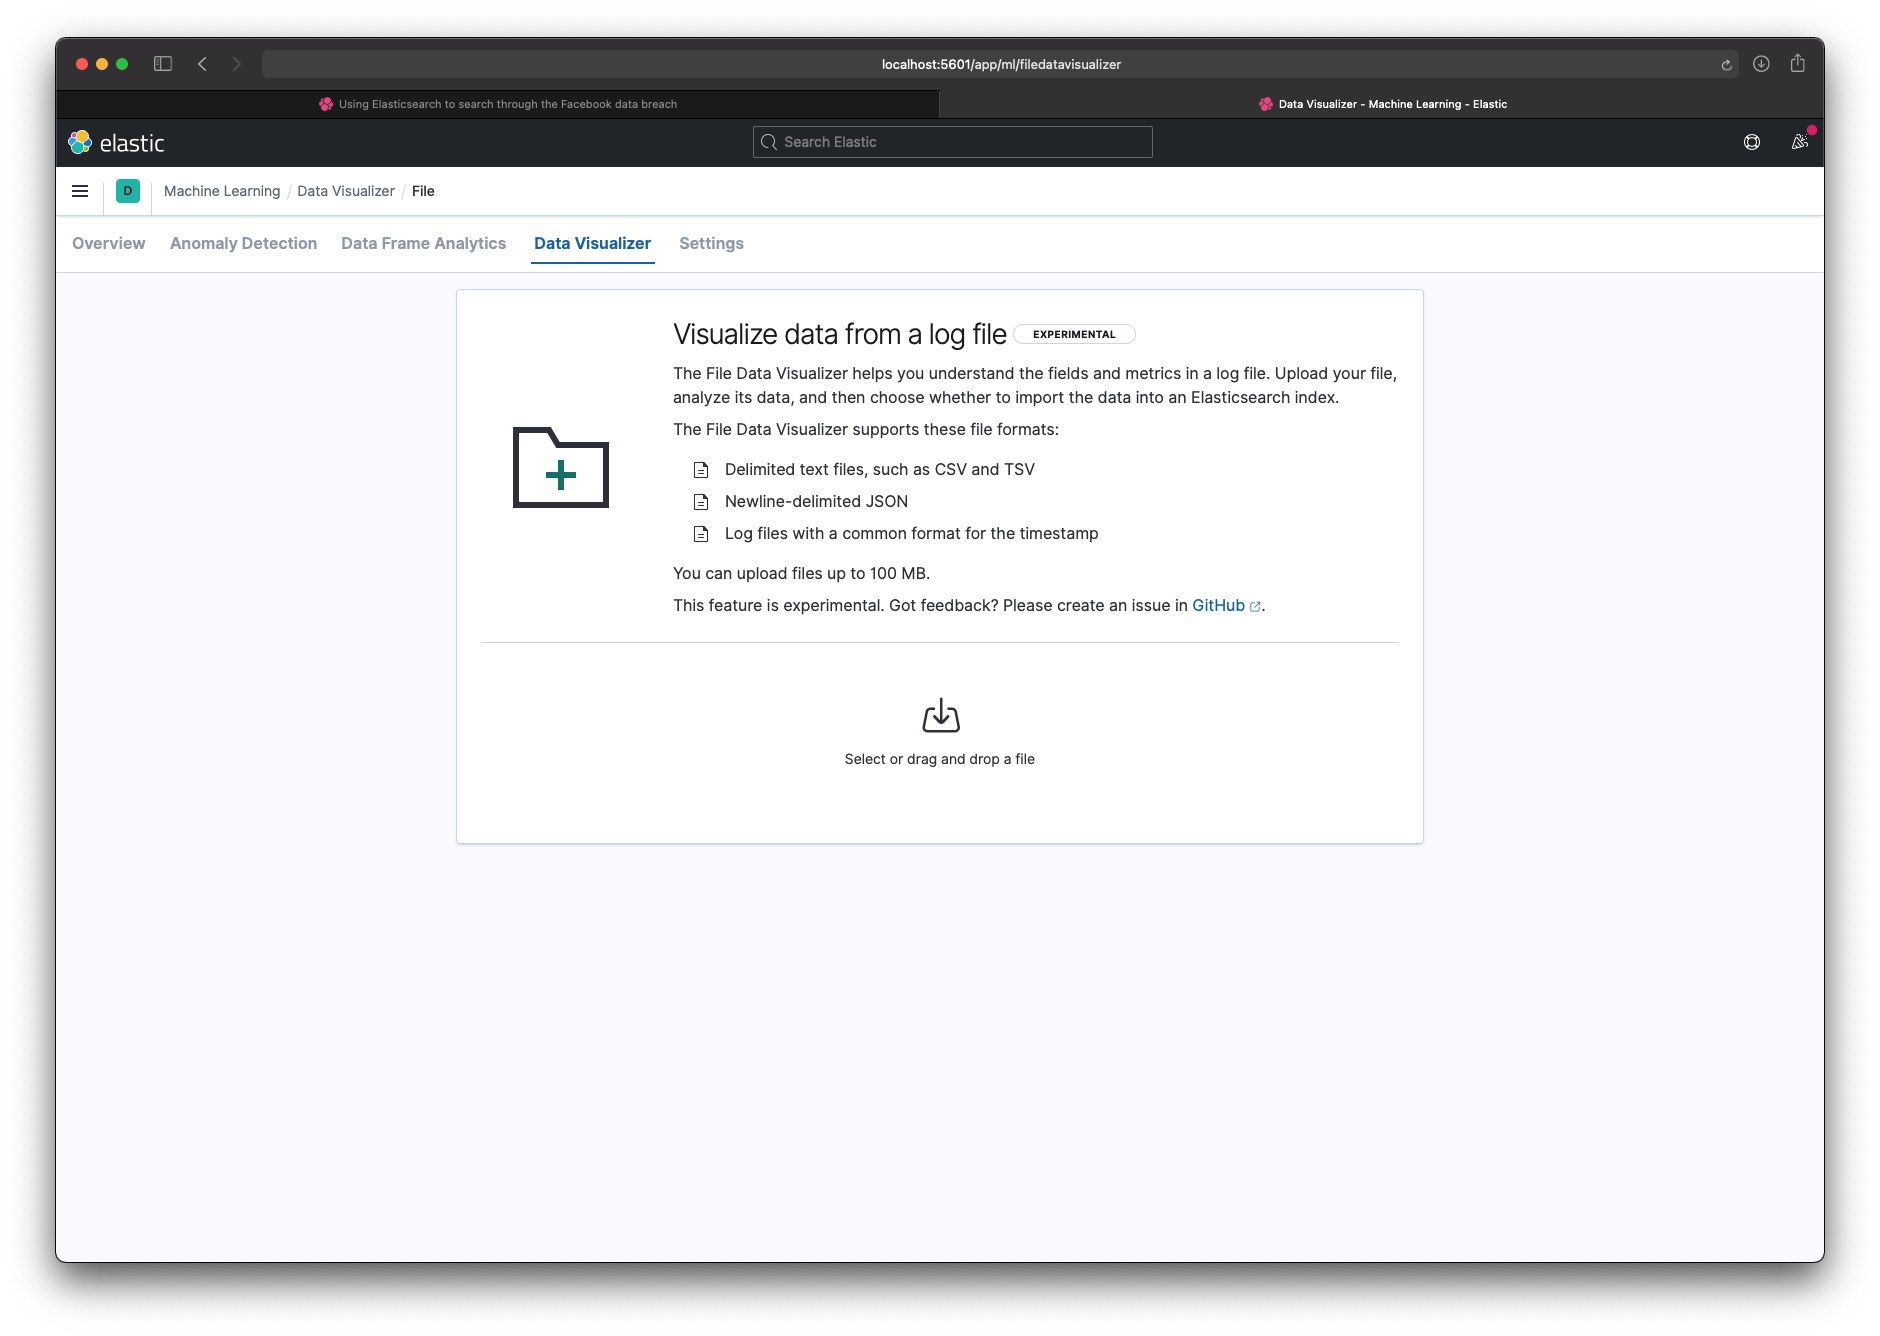
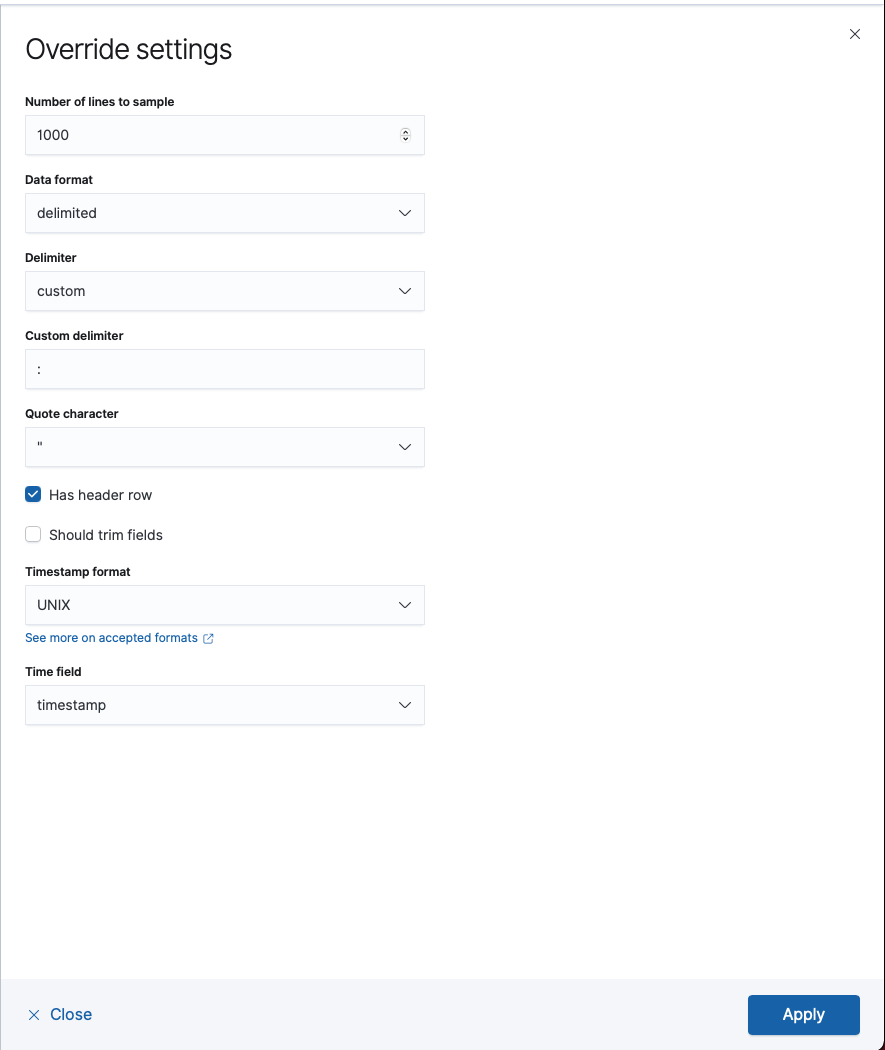
I first used the file uploader to check that the data looked correct. I told Kibana the delimiter was : instead of ,, and that the data had a header row. That gave me a working index and a schema I could reuse.

Step 4 - Load the data (real)
The UI only lets you upload one file at a time, so I switched to the REST API. I used elasticsearch-loader (a Python library) to load each chunk into the same index.
for idx in 1 2 3; do
  for file in part_${idx}/*; do
    echo "Uploading: ${file}"
    elasticsearch_loader --index facebook_uk_breach csv ${file} --delimiter ":"
  done
done
Step 5 - Investigate
With the data indexed, I searched for friends and family to see if they were affected. Some were.
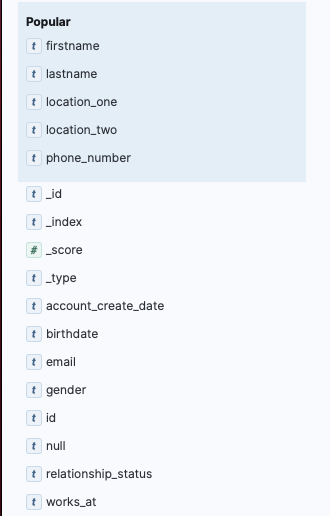
Kibana's Discover view lets you query with KQL (a SQL-like syntax). For example: firstname:"Adam" AND lastname:"Fallon". Queries that would take minutes with \~grep\~ return in milliseconds.
I also filtered by fields like works_at:'Github' and location_one:'London'.
Some quick results:
- (*) A star in Elasticsearch shows every result:
10,620,521 hits(the dump I had was a subset) - Rows with workplace set to "MI6":
136 hits - Rows where hometown matched my hometown:
721 hits - Rows where members worked at the Conservative Party:
82 hits - Rows where the name matched an old school friend:
1 hit(the number was correct)
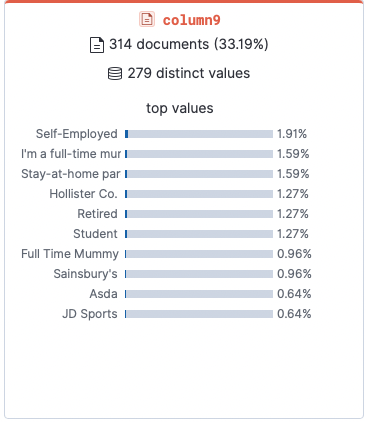
Most common jobs:
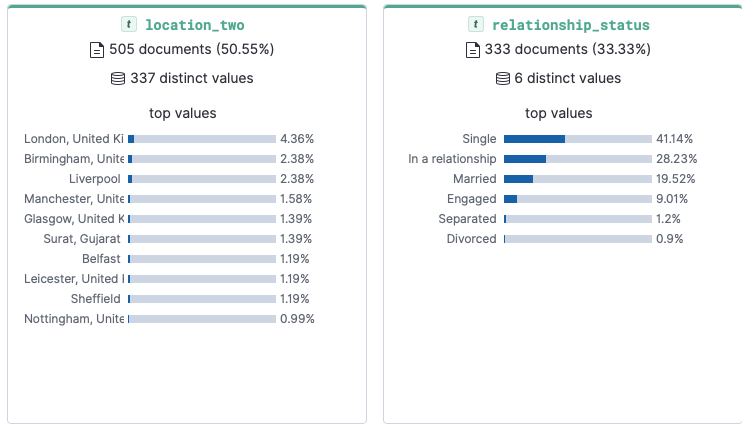
Most common location and relationship status:
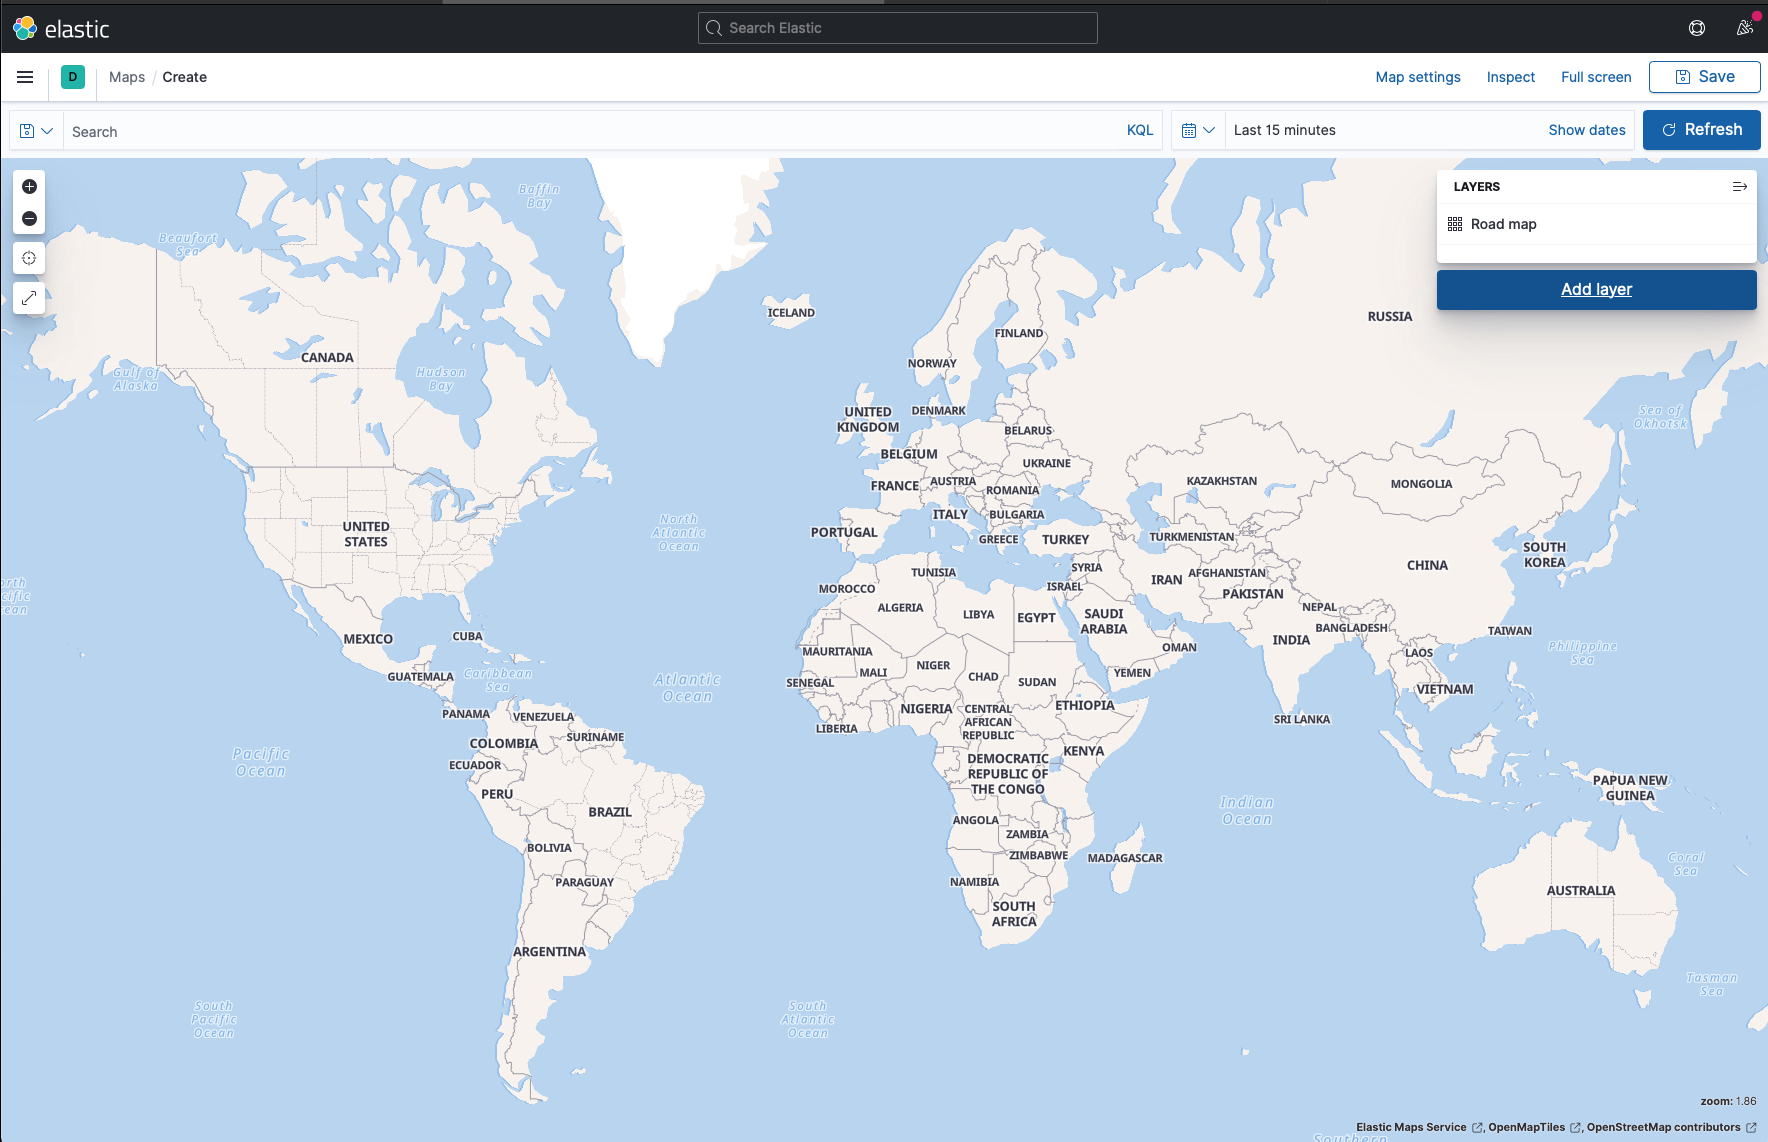
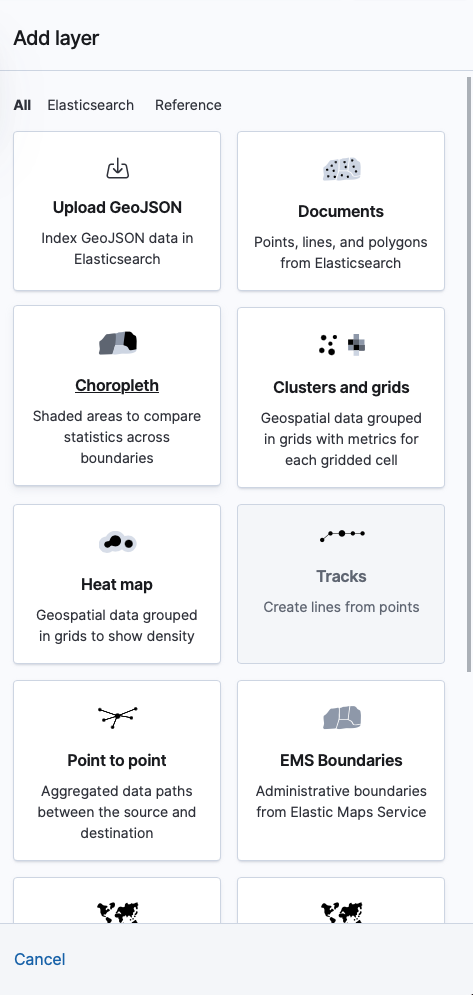
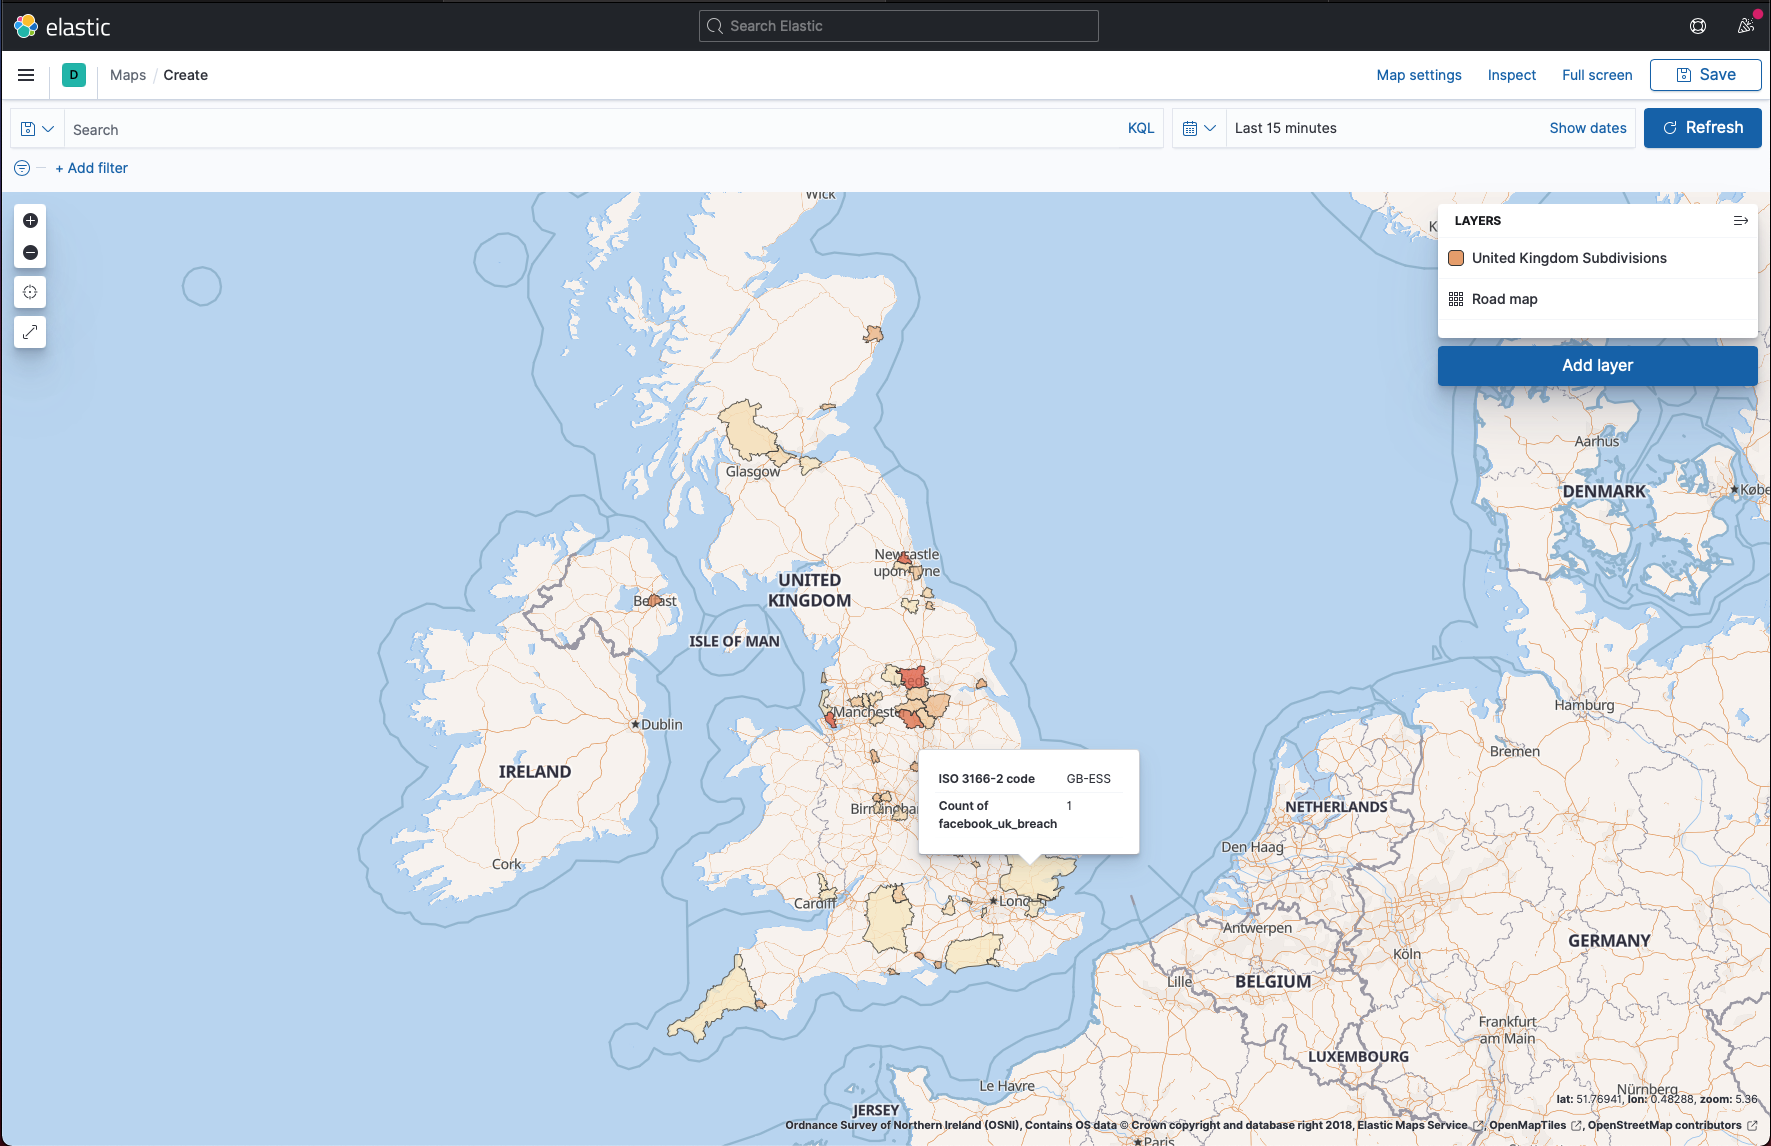
Step 6 - Mapping regions where users were affected
This did not work well. The breach data had free-text address fields, so matching against geographic data was messy. I tried to use Elasticsearch's mapping tools, but the results were noisy.
- Add a layer to a map
- Create the layer
- Modify the layer
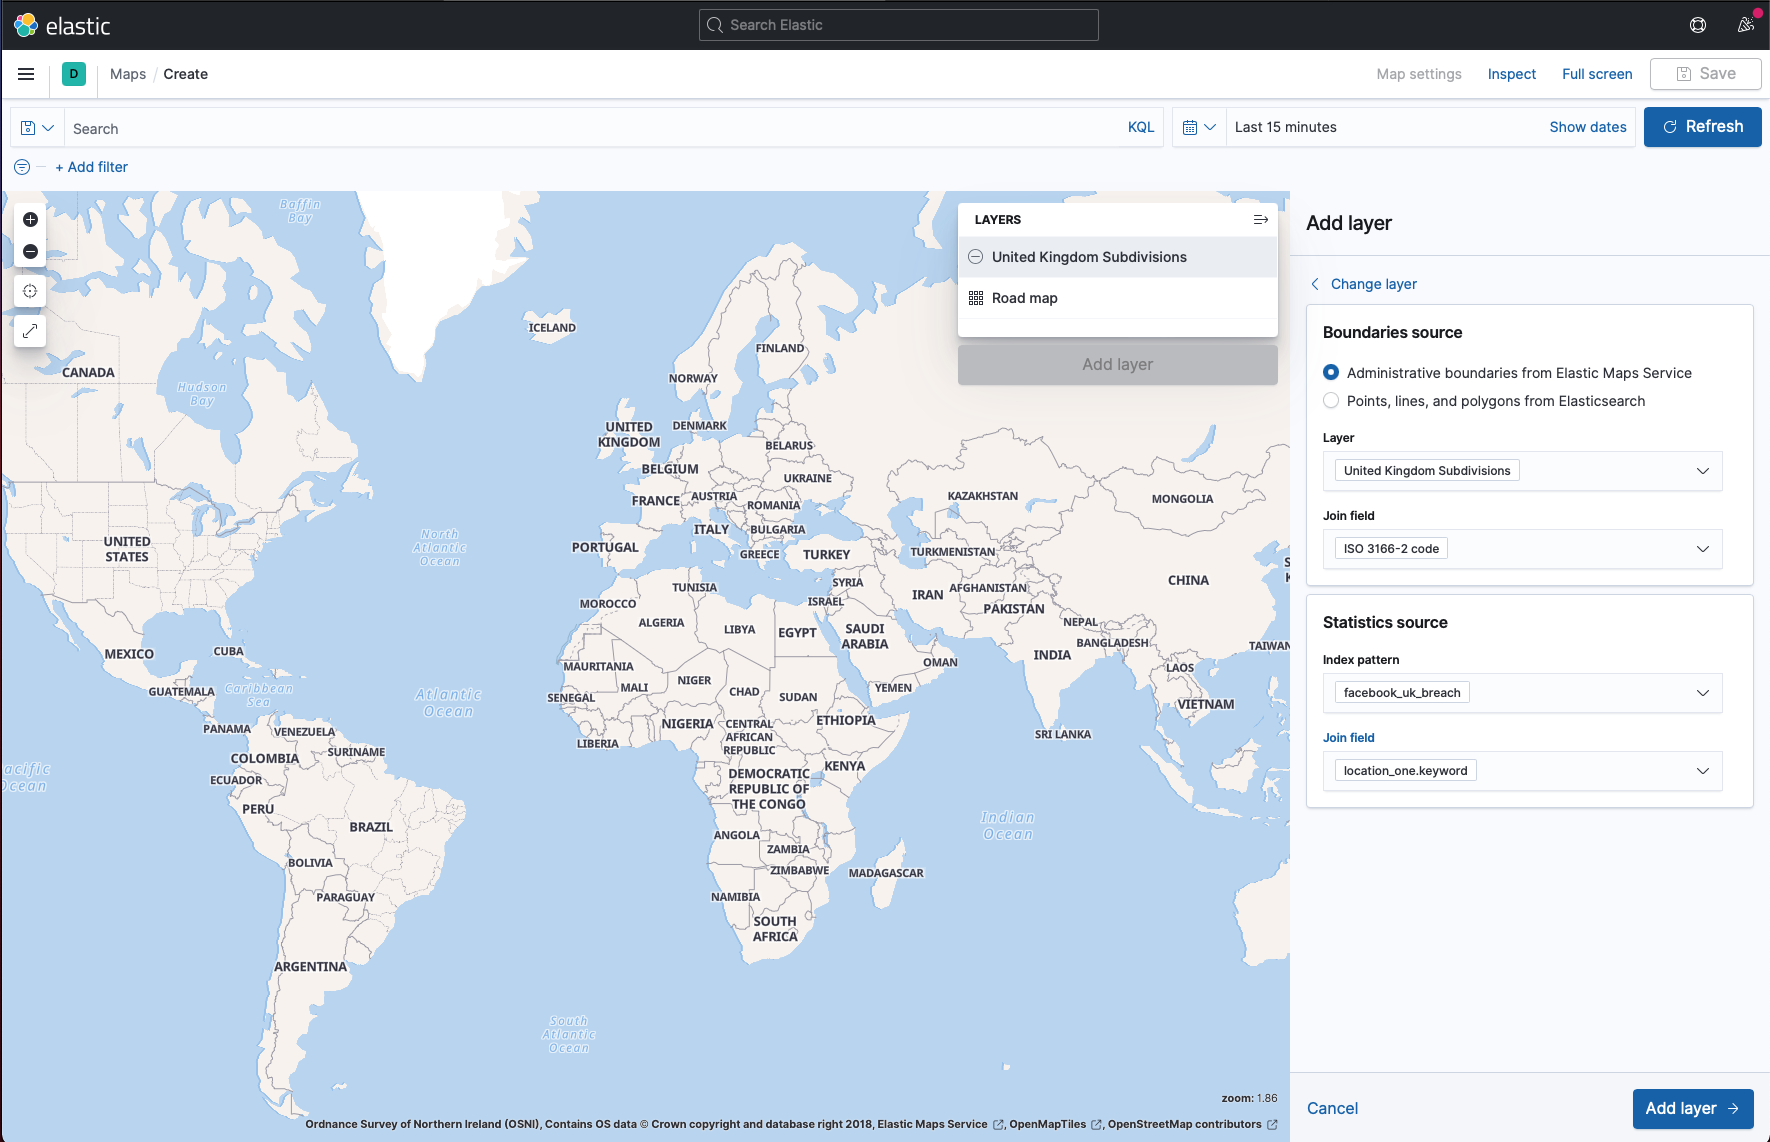
- Add ISO-3166-2 Code

- The final mapped data
Conclusion
Elasticsearch is a fast way to search huge data sets. Once indexed, you can ask complex questions and get answers in milliseconds.
This breach is still bad news. Phone numbers are treated like security tokens, and they are hard to change. Having 500m of them floating around is a real problem for anyone affected.
If you are interested in other database techniques, check out my post on building location-based features with Postgres geospatial queries.